
LDR Tester
Test ambient light levels using an LDR with an LED. LED glows or dims according to light intensity, perfect for DIY electronics and hobby projects.
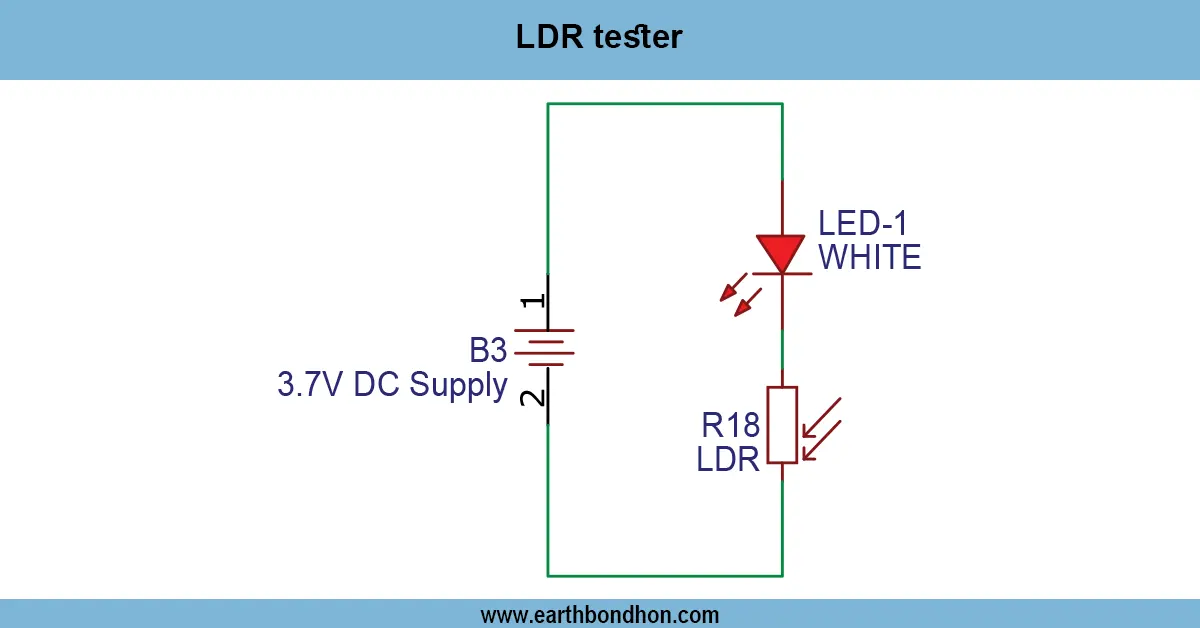
LDR BC547 light sensor circuit
A lamp detector with an LED will allow testing the ambient light very fast. An LED is used to create a simple visual means of DIY electronics by adjusting the brightness based on LDR resistance.
simple light detection project
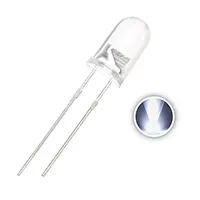
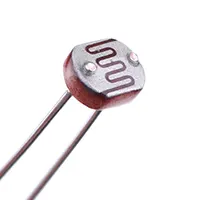
The LDR Tester Using LED is a very basic project that allows one to easily test the amount of light in a setup with a Light Dependent Resistor (LDR) and an LED. The higher the intensity of light, the lower the resistance of LDR. The use of an LED in a series connection between the LDR and a given resistor makes the LED brighter in environments where the resistance is low (bright light) and dimmer when the environment is darker. The circuit is user-friendly, cheap, and most suitable for use by students, hobbyists, and fans of electronic devices who may wish to test the LDRs, measure the ambient light levels, or learn about the light-reactive circuits. The project needs the simplest of components, which include a Lan ED, a resistor, an LDR, and a DC source of power. Basic indication does not need a transistor, but this can be included in the circuit to increase the current that the components can handle or to power higher loads. They can be used to test LDR sensors or make light-sensitive indicators, and to do light experiments on a whim. The LED brightness sensitivity can be controlled by changing the values of the series resistor.
Work / Installation (Inputs → Outputs)
- Power Input → 3–12V DC supply.
- LDR Sensor → Changes resistance with light intensity.
- Series Resistor → Limits LED current.
- LED Indicator → Brightness changes according to light levels.
- Installation → Connect LDR and LED in series with resistor; apply DC voltage; observe LED brightness changes when exposed to light or darkness.
Testing & Final Adjustments
Assemble, after which you will need an appropriate source of DC power. Light up the LDR; the LED must be bright when under high light conditions, and dark when it is dark. Regulate the value of the series resistor to regulate the brightness and sensitivity of LEDs. Test with various lighting sources to be sure that it works. Check the polarity of the LED and maintain a stable connection. Repeated tests will confirm the correct level of light indication. The correct installation ensures that the LED visually reflects the level of ambient light adequately, and, therefore, this project can be followed by beginners and hobbyists who want to explore the topic of light-sensitive circuits.