Introduction to SD Card Module
The SD card module is particularly useful for projects that need data logging. The Arduino can create and enter an SD card to write down and save data using the SD library. There are different models from different suppliers, but all of them add an identical way, using the SPI communication protocol.
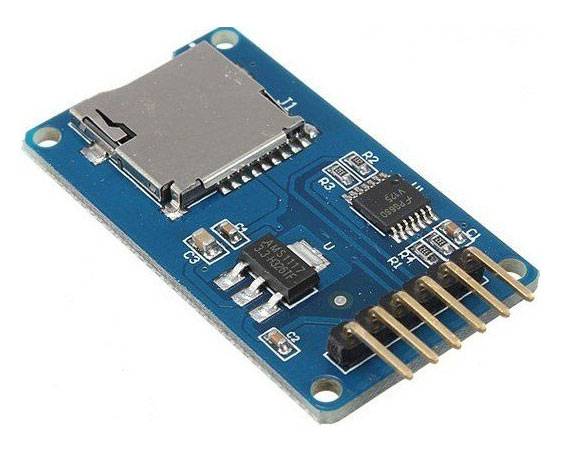
This Micro SD Card is employed for transferring data to and from a typical sd card. The pinout is directly compatible with Arduino and can also be used with other microcontrollers. It allows us to feature mass storage and data logging to our project.
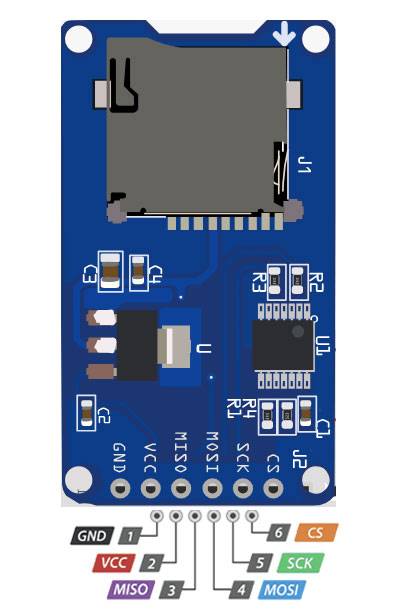
Micro SD Card Module Pinout
The table below shows how you should wire the SD card module to your Arduino.
01.GND (ground).
02.VCC (3.3V or 5V).
03. MOSI (master out slave in).
04. SCK (serial clock).
05. CS (chip select).
| SD card module | Wiring to Arduino Uno | Wiring to Arduino Mega |
| VCC | 3.3V or 5V (check module’s datasheet) | 3.3V or 5V (check module’s datasheet) |
| CS | 4 | 53 |
| MOSI | 11 | 51 |
| CLK | 13 | 52 |
| MISO | 12 | 50 |
| GND | GND | GND |
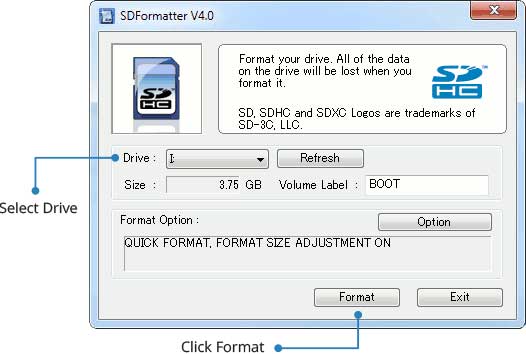
Preparing the SD card
Before you insert the micro SD card into the module and hook it up to the Arduino, you want to properly format the cardboard. For the Arduino library, we’ll be discussing, and nearly every other SD library, the cardboard must be formatted FAT16 or FAT32.
If you’ve got a replacement SD card, the likelihood is that it’s already pre-formatted with a FAT filing system. However, you’ll have problems with how the factory formats the cardboard, or if it’s an old card it must be reformatted. Either way, it’s always an honest idea to format the cardboard before using it, albeit it’s new!
Note that each Arduino Board has different SPI pins which should be connected accordingly. For Arduino boards such as the UNO/Nano those pins are digital 13 (SCK), 12 (MISO) and 11 (MOSI). You will also need a fourth pin for the ‘chip/slave select’ (CS) line. Usually, this is pin 10 but you can actually use any pin you like.
FUTURES:
01. Input Voltage: 3.3V/5V
02. With all SD SPI Pins out: MOSI, SCK, MISO, and CS, for further connection
03. Through programming, you can read and write to the SD card using your arduino
04. Make your SD application easier and simple
05. Communicate with Arduino using the SPI interface
06. Push-pop socket with card slightly over the edge of the PCB so it’s easy to insert and remove
07. 4 mounting holes with 2.2mm diameter
08. Only use 4 I/O pins on the Arduino
09. Size: 42mm x 25mm x 5mm