Upgrading LED Dimmer 30A
Learn how to upgrade your LED dimmer to handle 30A safely. Step-by-step guide with circuit diagram, components, working principle, and DIY assembly for high-current LED projects.

Introduction to High-Current LED Dimming
The thermal performance and drive control are the two most concerning issues associated with the high-current LED dimming. With a minimum load adjustment to 30A, you can control bigger LED arrays with incredibly smooth dimming without concern of thermal overload.
diy led light projects
With a 30A dimmer, you’ll also be able to dive into high-voltage LED projects like light strips, stage lighting, or powerful industrial LED setups. A standard dimmer has a current capacity to control, but with the correct high-current switching device (MOSFET or TRIAC) and associated circuitry for heat management and good circuit design, it’s possible to safely control large LED loads in this way. This guide will show you how to modify an LED dimmer into the right type of circuit safe for an actual light, and why it is safe. You will also discover how to manage high current no fear, guarantee complete dimming by means of PWM control as well as implement protection features for your designs in cruder environments.
Why Upgrade to 30A LED Dimmer?
High-Power LED Applications
- Stage lighting, LED panels, or industrial lighting.
- High-brightness LED strips and modules.
Smooth Dimming Performance
- PWM or phase-cut dimming ensures flicker-free operation.
- Suitable for sensitive environments.
Enhanced Durability
- Proper heat sinks and current handling prevent component failure.
- Longer lifespan for both dimmer and LEDs.
Components Required
TRIAC or MOSFET for High Current
- Handles 30A current.
- Choose high-current, low Rds(on) MOSFET for efficiency.
Heat Sink and Cooling Fan
Essential for thermal management at high currents.
Microcontroller or Dimmer Control IC
Optional for PWM control or digital dimming.
Diodes, Capacitors, Resistors
For snubber circuit, filtering, and protection.
Protective Fuse
Prevents damage in case of short circuits or overloads.
Working Principle
Current Handling with High-Power Switching Device
- MOSFET or TRIAC switches a large current load.
- Gate or control input drives the device with a low-current signal.
Voltage and PWM Dimming
- PWM signal adjusts duty cycle to control LED brightness.
- Smooth transition prevents flicker.
Protection Mechanisms
- Overcurrent protection via fuse or current sensing.
- Thermal protection using a heat sink and a fan.
- Snubber circuits for TRIAC to prevent voltage spikes.
Circuit Diagram and Assembly Steps
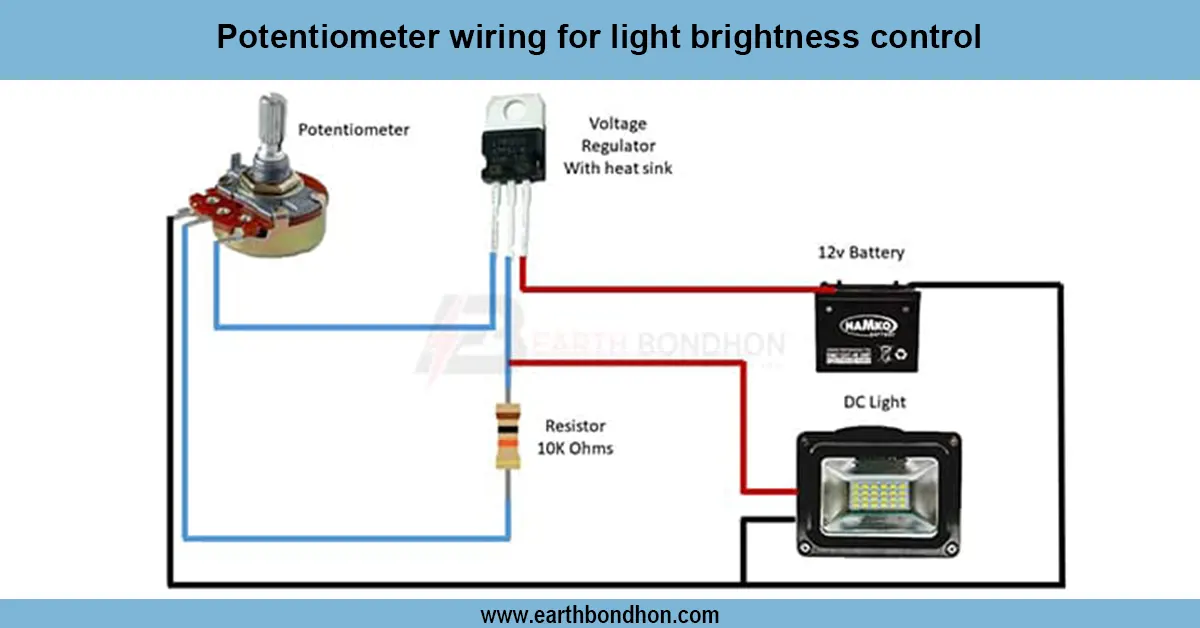
Wiring High-Current Switching Device
- Connect MOSFET drain/source or TRIAC in series with LED load.
- Use thick wires or busbars to handle 30A.
Integrating Dimmer Control
- Connect PWM signal from microcontroller or dimmer IC.
- Ensure proper isolation if using AC TRIAC dimming.
Adding Thermal and Overcurrent Protection
- Install fuse inline with load.
- Attach heat sink and optionally fan to high-power device.
Testing and Calibration
- Test with lower current load first.
- Gradually increase the current to full 30A.
- Adjust PWM for desired dimming range.
- Monitor temperature to ensure thermal safety.
Applications
- Stage and architectural lighting.
- High-power LED arrays.
- Industrial LED modules.
- Home automation with large LED setups.
- DIY LED projects requiring high current control.
Safety Precautions
- Use proper insulation and isolation for AC dimmers.
- Never exceed MOSFET or TRIAC ratings.
- Ensure adequate heat dissipation.
- Use protective fuse and snubber circuits.
- Avoid touching high-current wires while powered.
Troubleshooting and Maintenance
- LED flickering: Check PWM frequency and wiring.
- Overheating: Verify heat sink and current rating.
- No dimming effect: Check gate/control connections.
- Component failure: Replace MOSFET/TRIAC and verify ratings.
- Short circuits: Inspect wiring and fuse condition.