
Forward Reverse Motor Control
Control DC motor direction forward and reverse using DPDT relays. Simple relay-based motor controller ideal for robotics, automation, and small motor projects.
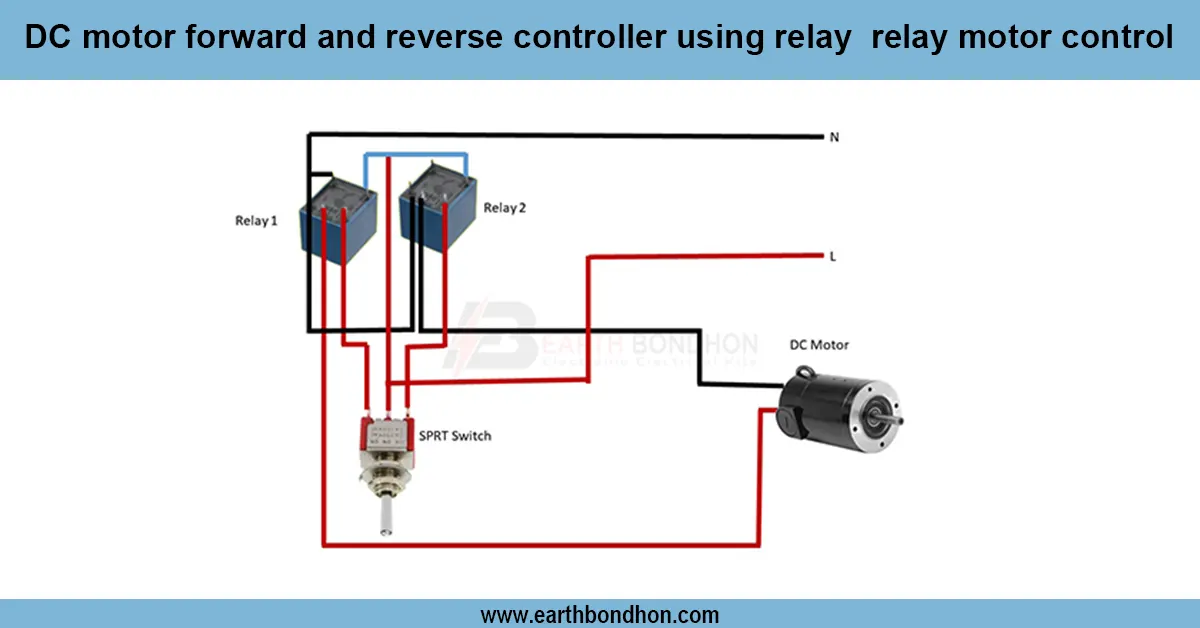
DPDT motor forward reverse switch
A DC motor controller is a relay-based controller that allows the motor to move forward and reverse by reversing its polarity with a DPDT relay. It is an easy and not very dangerous way of automating small motors.
relay motor direction control
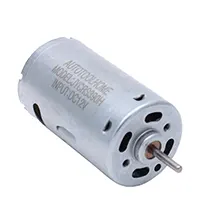
The DC Motor Forward and Reverse Controller Using Relay is a good solution where the direction of the motor is to be changed easily and safely. It is operated using a DPDT(Double Pole Double Throw) relay to switch the current direction of the DC motor so that it can either turn forward or reverse. The motor may be stopped by a separate relay or switch. The circuit is suitable for small robotics, conveyor belts, automatic doors, or projects involving DIY motors. The relays are operated by push buttons or toggle switches, which control the operation of the motors. The choice of relays depends on the current rating of the motor, and flyback diodes are mounted across relay coils to guard against spikes in the voltage. Such an arrangement does not require complicated electronic controllers and thus it is easy to use by a beginner, economical, and dependable. It is one of the practical solutions to learning about motor control, relay switching, and automation circuits.
Work / Installation (Inputs → Outputs)
- Input → Motor supply voltage (DC).
- DPDT Relays → Switch polarity for forward and reverse rotation.
- Control Switches / Push Buttons → Activate relays for forward, reverse, or stop.
- Output → Motor rotates forward, backward, or stops based on relay activation.
- Installation → Mount relays on PCB or perfboard. Ensure proper relay coil wiring and place flyback diodes for protection.
Testing & Final Adjustments
Once assembled, test forward by pushing the forward switch and reverse by pushing the reverse switch. Stop the press to eliminate the rotation of the motor. Check the wiring of relays and polarity to avoid short-circuiting. Install flyback diodes to prevent spikes in voltage at relay coils. Load testing at a low level, then at a high level. Make adjustments to switches or wiring in case the motor is not responding. Tight safety and confidence forward, reverse, and stop will be guaranteed. It is a robust relay-based technique that is suitable for the initial DIY activities.