
Godown Wiring Circuit Diagram
Learn go down wiring circuit diagrams with a step-by-step guide, sequential switches, installation, testing, and safe lighting for warehouses and corridors.
go down light switch connection
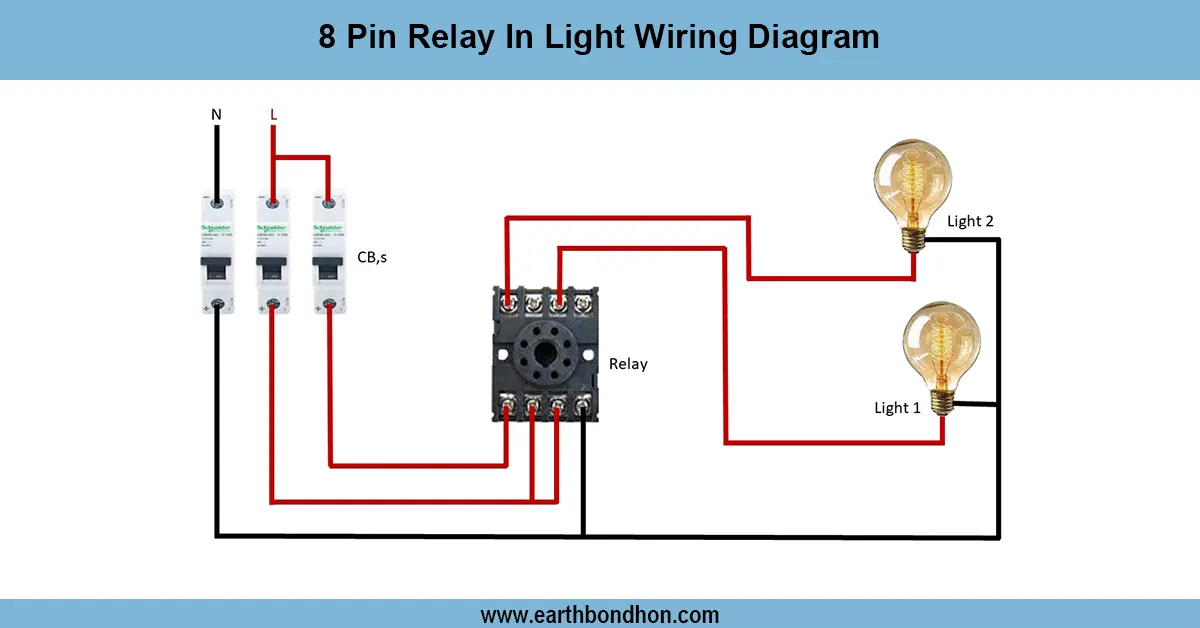
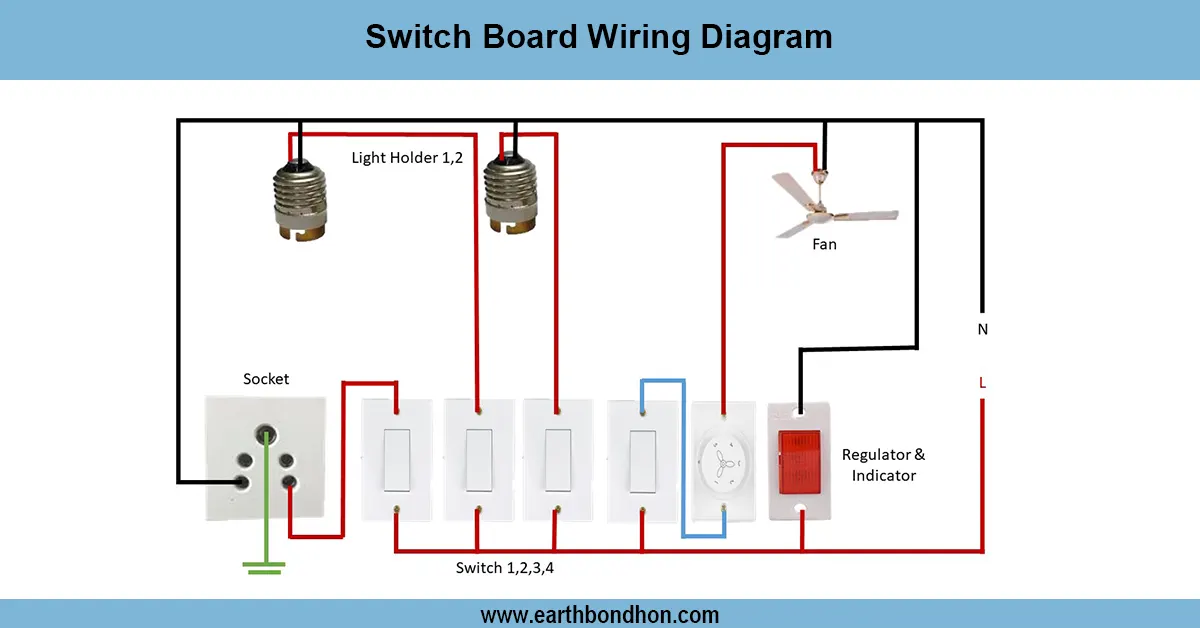
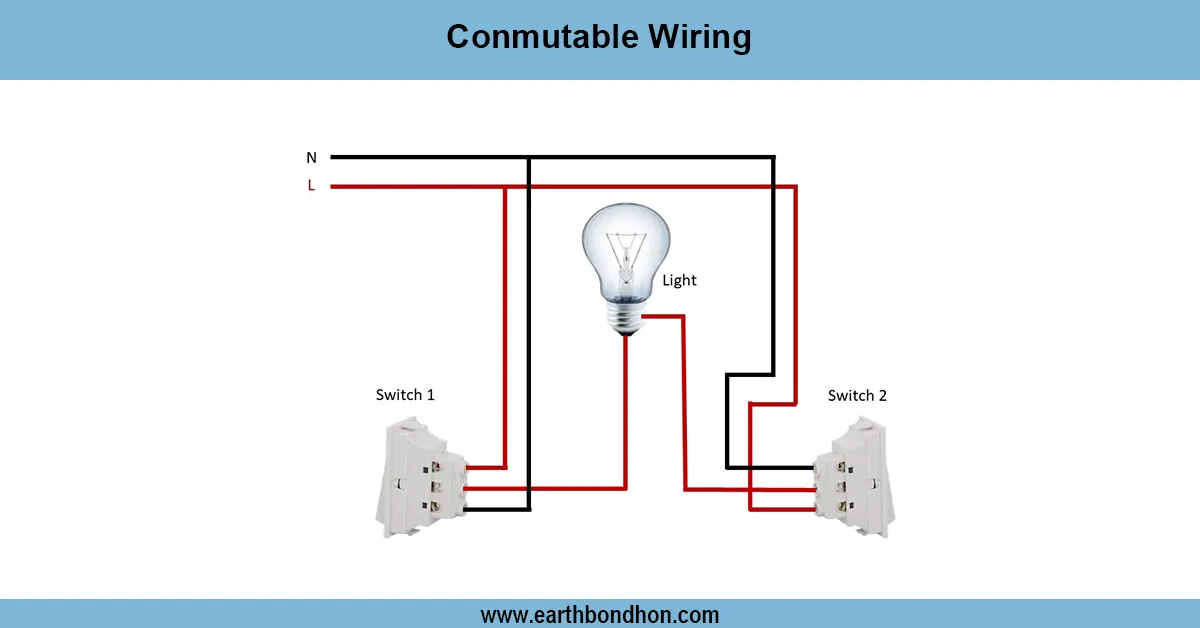
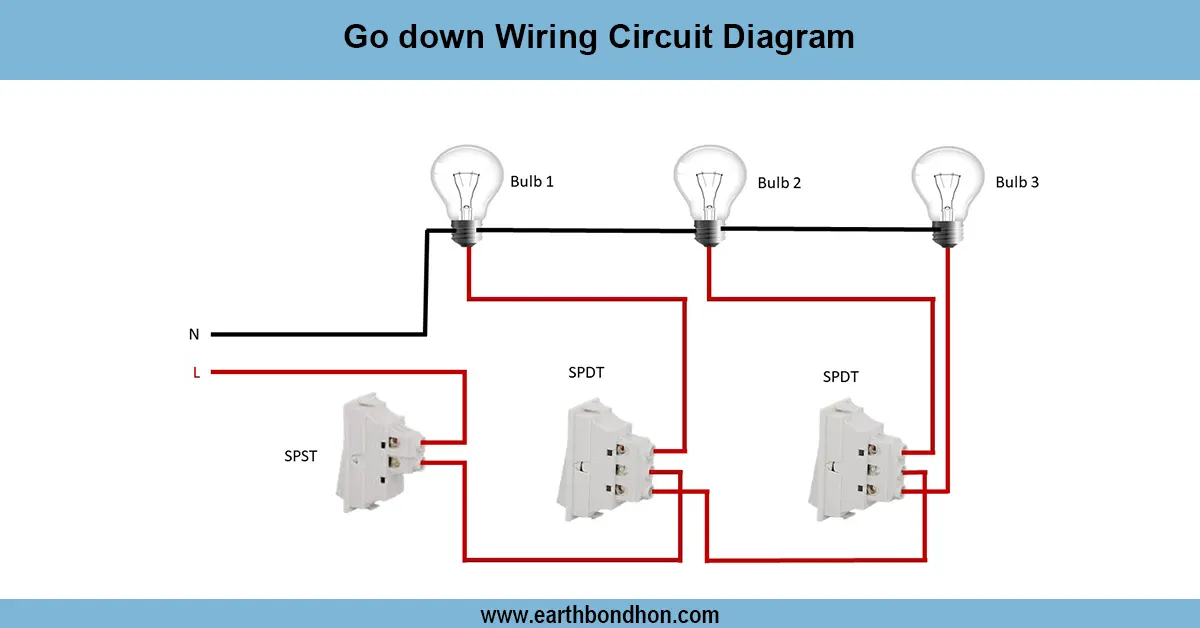
A go down wiring circuit diagram is used to operate lights in long corridors, warehouses or storage areas effectively. Under this system, the lights would switch on one at a time as you drive forward and off one at a time as you drive behind thus conserving energy. Two-way and intermediate switches are normally used in the circuit. The switches are connected to the phase wire and used to switch lights on and off with the neutral being directly connected to all the lights. Not only does this system save on electricity but it also makes things safer and more convenient and only those parts that are being used are lit. Appropriate wiring will avoid overloading and will be readily troubleshooted in the industrial or residential setting.
go down wiring circuit diagram
Testing has been implemented after wiring to make sure it is safe and operational. Switch on the main supply and ensure that the first light works with the first switch. Work along the corridor and flip each next switch to ensure that the next light is on and the last light is off. Test each intermediate switch to control sequentially.
Check all connections of loose wires or exposed conductors. Confirm neutral is attached to all the lamps and is passing through each switch correctly. Modify switch when any light fails to work as desired. Test circuit with load and no flickering and overheating. Adequate testing ensures energy efficiency, dependable lighting and healthy functioning in warehouses, tunnels and long corridors.
Work / Installation (Inputs → Outputs)
This go down wiring circuit is used to regulate a series of lights with the help of the two-way and intermediate switches. Input: The primary phase wire is connected to the first switch and neutral is sent to all the lamps. Output: Lights can be wired in series with switches to be forward and reverse controllable.
Installation Steps:
- Turn off the main supply before starting wiring.
- Connect the phase wire to the first two-way switch.
- Use intermediate switches for additional lights if needed.
- Connect output wires from switches to corresponding lamps.
- Ensure neutral is connected to all lamps directly.
- Properly insulate all joints and mount switches securely.
- Turn on the supply and test each switch for sequential operation.