

Connect Time Relay Wiring
Learn time relay wiring connection with AC/DC load, start/stop control, and automatic switching for motors, lights, and industrial circuits.
automatic load control relay
Time relay wiring allows the automatic switching of loads when the preset time changes. It can control motors, lights, and industrial equipment in an efficient, safe, and cost-effective manner using push buttons, relays, and contactors.
time relay wiring diagram
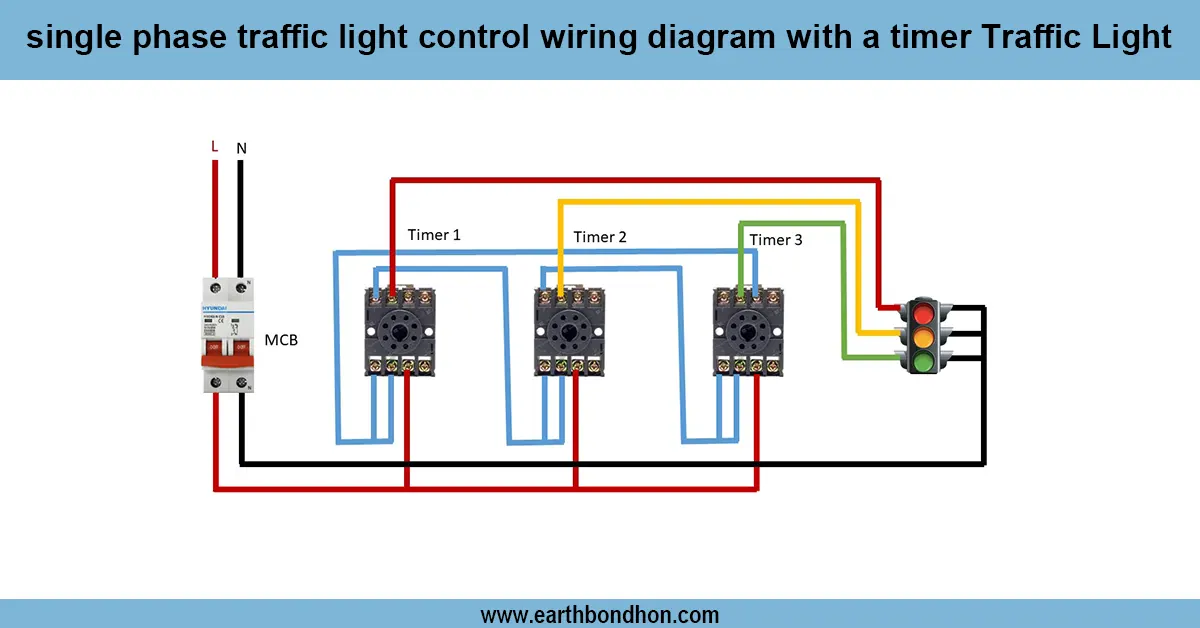
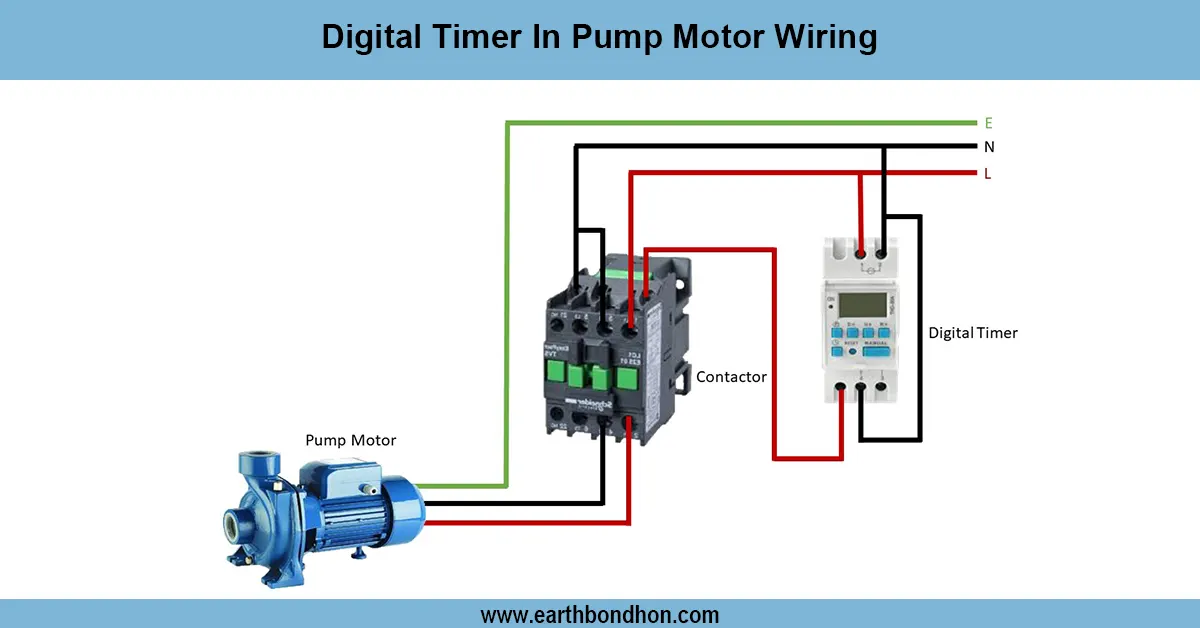
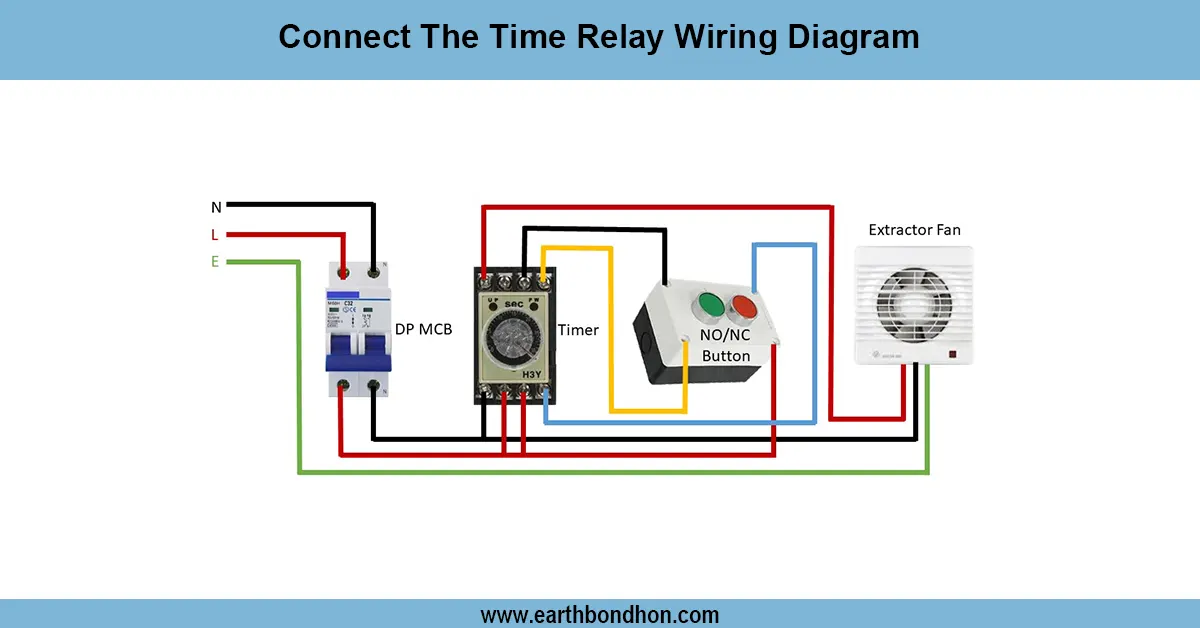
A time relay wiring connection provides automatic control of electrical devices such as motors, lights, and industrial loads based on a predetermined time. The system comprises of time relay, start/stop push buttons, AC/DC load, contactor (where necessary), and the supply connections. The time relay may be configured to offer delay-on, delay-off, or cyclic switching when power is applied (depending on its configuration). This start push button activates the relay, which in turn is triggered after the preset time. The relay output switches the load. The stop push button is interruptable manually. Wiring and installation are done properly to ensure that it operates automatically and less manual intervention is needed, and devices are not run unnecessarily. It is very common in industrialized automation, motor control, and lighting, as well as sequential applications. Testing is required to maintain the relay switches at the right time, and the devices act as expected.
Work & Installation (Input → Output Summary)
- Supply Voltage enters time relay circuit.
- Start Push Button energizes the relay.
- Time Relay Contacts switch after preset delay to control load.
- Stop Push Button manually de-energizes relay and load.
- Load (Motor, Light, or Device) operates according to relay timing.
- Contactor (if needed) switches higher current loads safely.
- Ensure proper wiring, insulation, and earthing for safety.
Testing & Final Adjustments
- Verify insulation and connections of supply, relay, and load circuits.
- Set the desired time delay on the time relay according to the application.
- Press the start button and observe the relay operation.
- Confirm load switches after preset delay correctly.
- Press the stop button to ensure manual interruption works.
- Test relay for multiple cycles to verify consistency.
- Ensure contactor (if used) switches load without sparks or overheating.
- Inspect for proper earthing and secure wiring.
- Check AC/DC load response and timing accuracy.
- Record results for maintenance and operational reliability.