

Day Night Sensor Wiring
Automatically turn lights on/off using a BC547 transistor-based day-night sensor. Ideal for LED lamps or night lights without complex ICs.

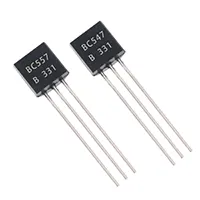
BC547 day-night sensor circuit
An easy and efficient lighting solution is a day-night light sensor switch based on the BC547 sensor, which can be easily used to detect the level of ambient light and automatically turn on the lights used at night and off during the day.
simple day-night electronics project
The Day-Night Light Sensor Switch with BC547 is an auto lighting controller that switches on and off depending on the ambient light. BC547 transistor is used as a switch to turn on the lights or lamp when it becomes dark and to switch off when it is daytime. Light levels are detected by a photodiode, a phototransistor, or just a voltage divider in this circuit. The base voltage on the 547 transistor will make it either conduct or not. The transistor will turn on the load attached when the darkness is detected. The arrangement is perfect for night lights, garden lights, and small indoor lights. The project can be completed by beginners and hobbyists, and they will be able to learn by hands-on experience of switching, sensing light, and automatic control of transistors. It is affordable, simple to put together, and does not need ICs or microcontrollers.
Work / Installation (Inputs → Outputs)
- Input → 5–12V DC supply.
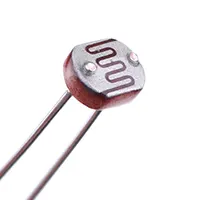
- Light Sensor (photodiode/phototransistor) → Detects ambient light.
- BC547 Transistor → Acts as a switch to control the load.
- Output Load → LED or small lamp turns ON in darkness and OFF in daylight.
- Installation → Assemble on breadboard or PCB; position sensor to face ambient light.
Testing & Final Adjustments
Once the circuit has been assembled, test the ccircuit indaylight, and you can cover the sensor to mimic the effect of darkness. Make sure that when it is dark, the LED or lamp turns on and when light occurs it turns off. Tune the light sensitivity by adjusting the values of resistors. Check The pins of BC547 and check sensor orientation. In the case of increased current load, a relay may be attached and fed by the BC547 transistor. Test under real ambient conditions to determine good working conditions. Proper calibration would provide automatic day-night switching of LEDs or small lamps that do not have LDRs.


