

Smart 18650 li-ion Charger BC547
Build a smart 18650 Li-ion battery charger using BC547 transistor. Features automatic cut-off, LED indication, and safe low-voltage charging for DIY electronics projects.

DIY battery charger circuit:
An intelligent 18650 Li-ion charger was made based on BC547 to automatically turn off charging when the battery is full. The transistor BC547 allows cut-off, and an LED shows the charging position so that it can be used safely and efficiently.
automatic battery cut-off circuit:
The Smart 18650 Li-ion Charger with BC547 is a straightforward, secure, and effective circuit for charging 18650 lithium-ion batteries. The BC547 transistor is used as a switch to automatically disconnect the charging when the battery is full to avoid overcharging. In order to have visual feedback, an LED is used as an indicator of charging status. This is an ideal project for hobbyists and students, as well as DIY electronics enthusiasts who are interested in an easy method of charging 18650 Li-ion cells. The circuit can be used inside the house since it operates on low-voltage DC. The design has resistors and diodes that control current and voltage to the battery. The smart cut-off feature is a battery safety measure that extends the battery life. It is a small charger that fits well into a PCB or breadboard and is suitable as an introduction to battery charging circuits and automating things with transistors.
⚡ Work & Installation (Input → Output):
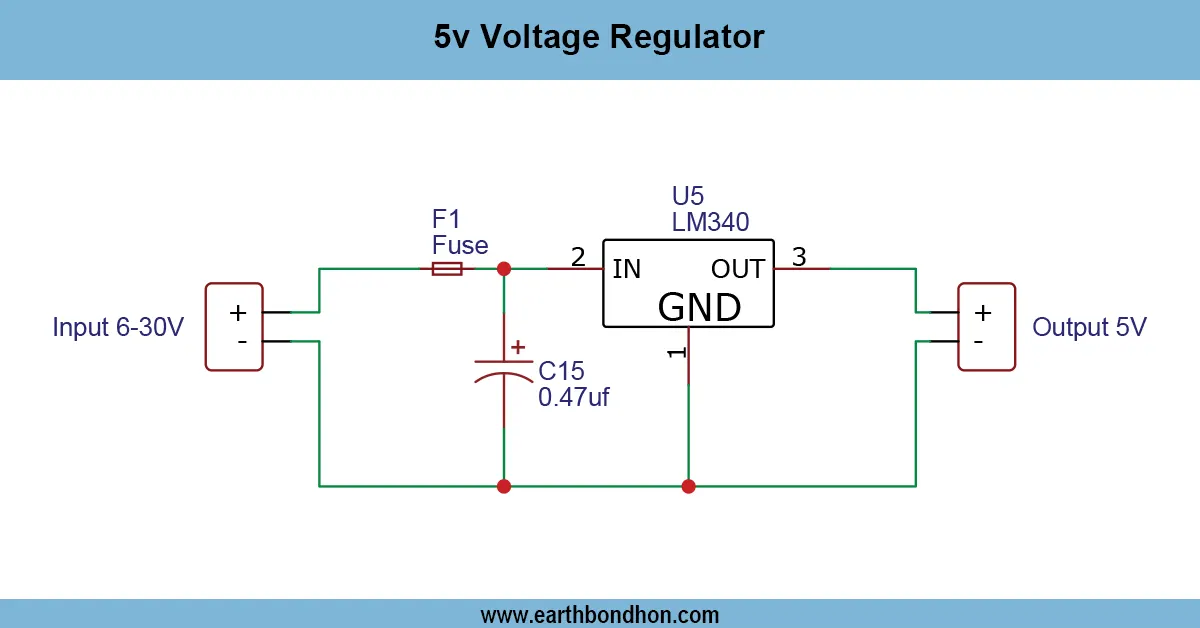
- Power Supply → 5–12V DC regulated supply.
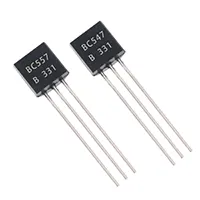
- BC547 Transistor → Acts as a switch to control charging cut-off.
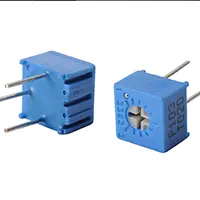
- Resistors & Diodes → Regulate charging current and voltage.
- Battery Connection → 18650 Li-ion battery terminals.
- LED Indicator → Shows charging in progress or full charge.
- Installation → Connect components on breadboard/PCB, connect battery and power supply, and test charging with LED feedback.
Testing & Final Adjustments:
Connect the Li-ion battery 18650 after assembling and put it into operation. Check the LED indicator: when charging, the indicator must light up and go off when full. Check battery terminals to make sure that the cut-off is correct. Tune the adjustable resistors to achieve charging current optimality based on battery characteristics. Make sure that the BC547 transistor is properly oriented, or it will cause a malfunction in the circuit. Check various batteries to ensure that they are operating the same. Ecclesiastical all the elements on the PCB or enclosure to avoid a short circuit. Adequate testing will also provide safe, reliable, and efficient charging, which will give it a long battery life applicable to DIY electronics hobbyists and students learning smart charging methods.