Star-Delta Starter PLC program
Learn the Star-Delta starter PLC program to automate a 3-phase motor start in star, switch to delta, with forward/reverse, timer, overload, and interlock control.

star delta plc ladder diagram
A program of Star-Delta Starter PLC allows the automation of a 3-phase motor starting and switching to a delta mode with the help of PLC outputs, timer, and interlocks to ensure the safe operation of the motor.
3 phase motor plc control program:
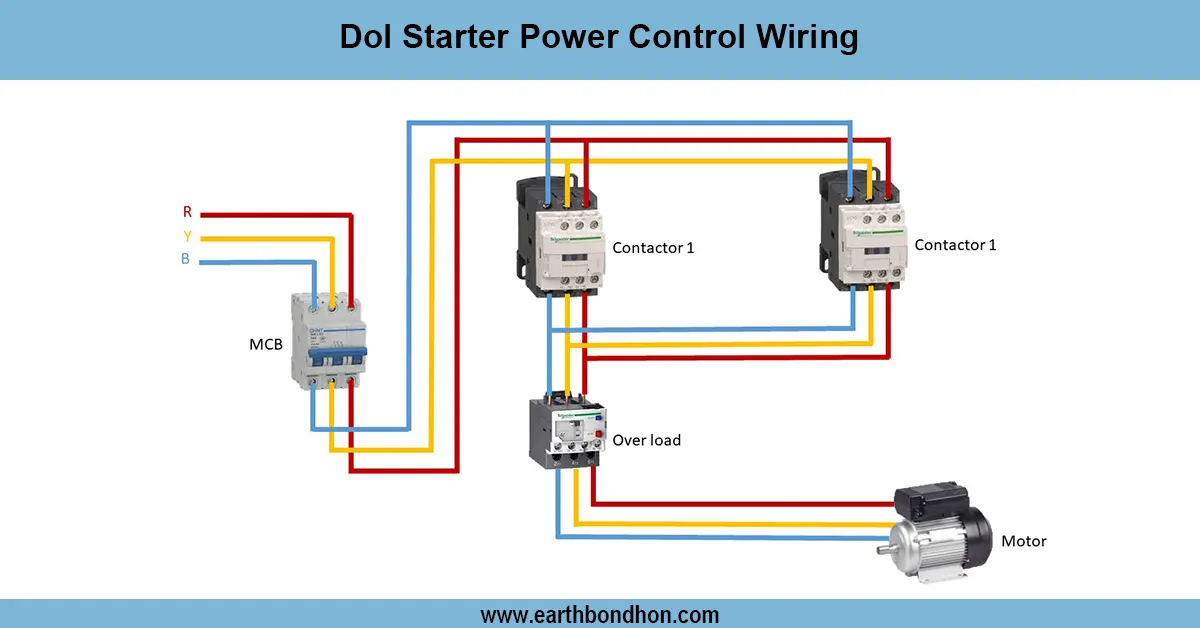
A Star-Delta Starter PLC Program permits 3-phase motors to be started safely and automatically, and minimizes inrush current. The system will consist of the Main (MC), Star (SC), and Delta (DC) contactors, a timer, and an overload relay. Start/stop pushbuttons and motor sensors are the inputs to the PLC. The sequential output of the PLC controls the MC, the SC, and the DC to allow the motor to start in the star mode, switch to the delta mode after a predetermined timer delay, and may have the forward/reverse direction. With a PLC, it becomes easier to have flexibility of time, interlocking logic, and monitoring of the motor. The safety of all the electrical components is achieved by proper earthing. After the PLC program, there is guaranteed reliable, safe, and efficient operation of the motors and eliminating contactor or motor damage and extending the possibility of integration with HMI or SC systems in industrial automation.
Work & Installation (Input → Output,)
- Input Supply: 3-phase AC via MCB/fuse.
- Main Contactor (MC): PLC output energizes MC to connect the supply to the motor circuit.
- Star Contactor (SC): PLC output energizes SC to start the motor in star mode.
- Delta Contactor (DC): PLC output energizes DC after timer delay to switch to delta.
- Overload Relay: Protects motor from overcurrent.
- PLC Inputs: Start/Stop pushbuttons, motor sensors, and timer signals.
- PLC Outputs: Sequentially control MC, SC, and DC.
- Earthing: Ground motor, PLC, and contactors.
- Output: Motor starts in star, transitions to delta safely, with automated timing and interlocks for protection.
Testing & Final Adjustments
Wire completed, switch on PLC and check input signals, start/stop push buttons, and motor sensors. Press start and ensure the motor starts in the star mode. Watch PLC timer; receipts SC opens and DC closes and goes to delta mode. Check tripping of overcurrent or overload relays. Test wiring in respect of insulation, correct polarity, and earthing. Check a few start/stop cycles to ensure good working PLC connection of contactors and sequence. Adjust PLC program timer or interlock logic as required. Labeling of wiring and components makes it easy to maintain wiring and components. The correct testing helps to avoid damage to the motors and contactors, to provide smooth operation, and to be integrated with HMI/SCADA to monitor them.