Timer Relay Wiring Diagram
Learn how to connect a three-phase timer relay to control motors or industrial loads with delay, including proper wiring, protection, and earthing.

three phase timer relay wiring diagram
The three-phase timer relay wiring diagram demonstrates the connection of the three-phase supply to the timer relay and operates a motor or load via a contactor, taking care not to operate until it has been delayed to avoid faults and improve efficiency.
timer relay connection for motor control:
Three-phase timer relays are applied to regulate industrial loads, motors, or pumps, having a preset delay. Delayed ON/OFF operation is enabled by the relay to minimize inrush current and mechanical load. The wiring will be made with three three-phase supplies (L1, L2, L3) to the timer relay input. The relay output is then linked to the coil of a contactor, which is used to switch the load. To be on the safe side, overload protection (thermal relay or MCB) is placed across the line of the load. The relay, contactor, and motor frame should be bolted to avoid electrical hazards. Timer relays are also common in motor control panels, compressors, pumps, and automated systems in industries. Wiring diagrams make sure that the equipment operates correctly and safely, and extend the life of the equipment. This is a dependable, automatic, and secure means of operating three-phase loads.
Work & Installation (Input → Output,)
- Three-Phase Supply: Connect L1, L2, L3 to the input terminals of the timer relay.
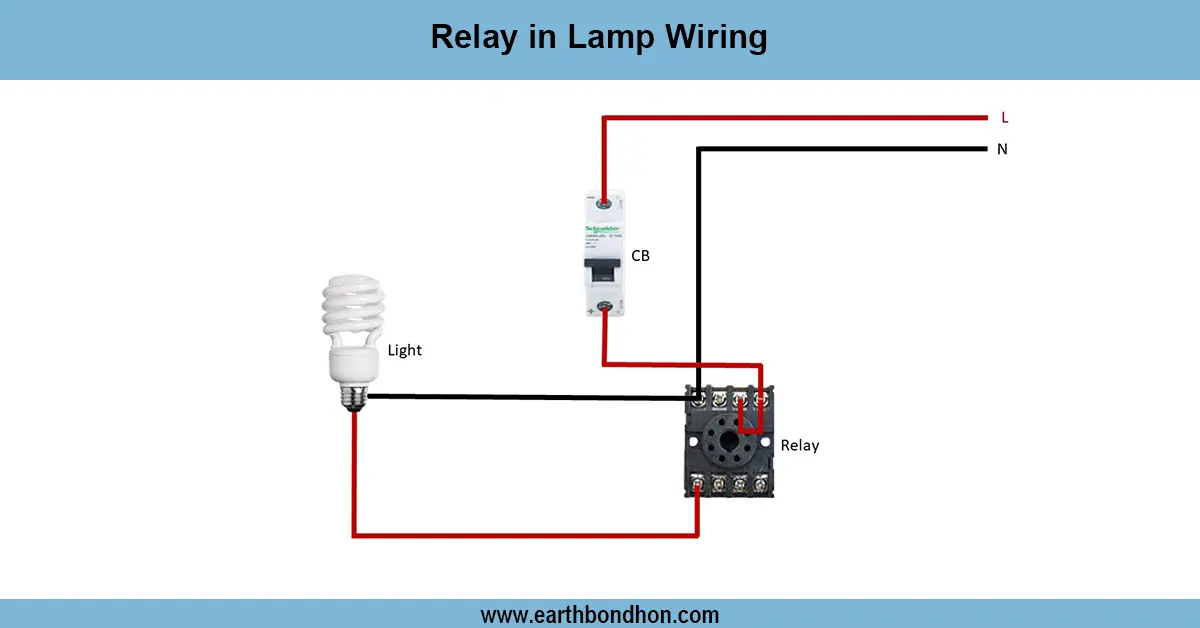
- Timer Output: Connect relay output terminals to the coil of a contactor or magnetic relay.
- Load Connection: Connect the three-phase load through the contactor output terminals.
- Protection: Install a thermal overload relay or MCB in series with the load.
- Earthing: Properly earth the timer relay, contactor, and load frame.
- Timer Setting: Adjust the time delay according to operational requirements.
- Operation: When the supply is applied, the timer counts down the preset delay, energizes the contactor coil, and starts the load.
- Output: The load operates safely after the delay, minimizing mechanical stress and reducing inrush current.
Testing & Final Adjustments
Connect the wires after which the main supply should be turned on, and the functioning of the timer relay can be observed. Ensure that the relay does not put the contactor into energizing until the preset delay. Test the load (motor, pump, or other equipment) with the intention of making it start well without unusual noise or vibration. Check all the wiring connections to verify whether they are tight, insulated, and that earthing is firmly in place. Make sure that the timer relay, contactor, and protective devices are rated appropriately for the load. Test various settings in the delay to ensure that it is correct. Protection against check overloads by simulating a small overcurrent. Label the wiring and control panel to be able to recognize them. Scheduling works on timer settings, wiring, and protective devices would help to achieve reliable and safe work in the long term. Adherence to the wiring diagram will eliminate damage to the equipment, health hazards related to electrical, and enhance efficiency in operation.