DOL Starter Circuit Diagram
Learn DOL starter power and control wiring diagram with contactor, overload relay, push buttons, and motor connection for safe motor starting.
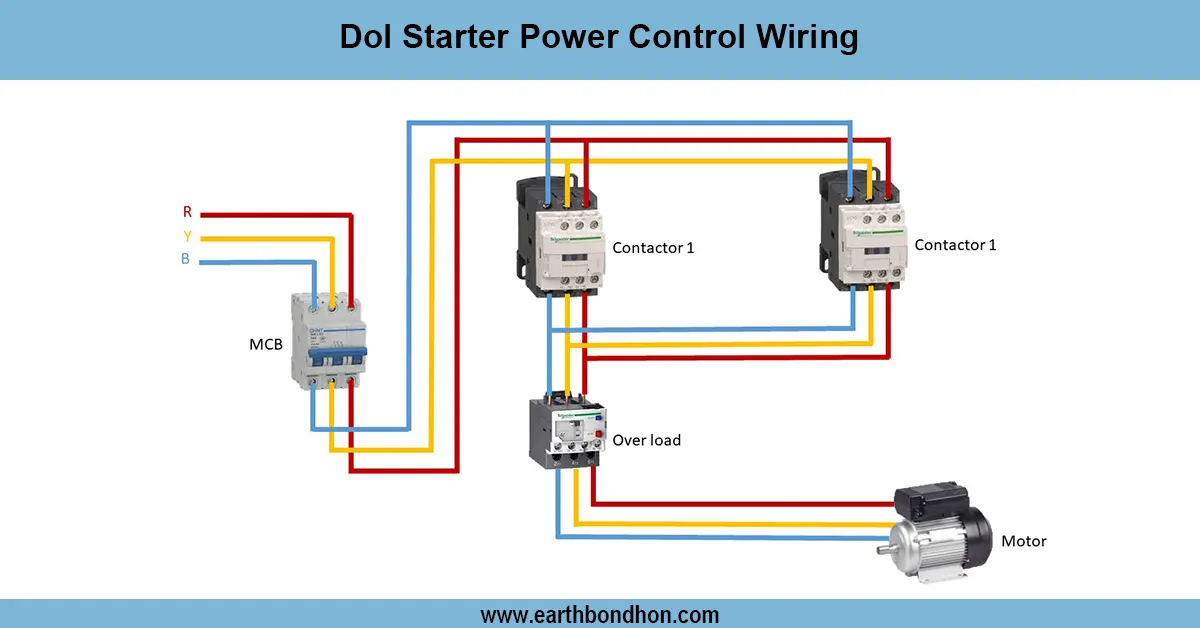
DOL starter power wiring
A DOL starter wiring diagram illustrates the way a motor works directly against supply via a contractor, overload relay, and control circuit that includes push buttons.
DOL starter wiring diagram
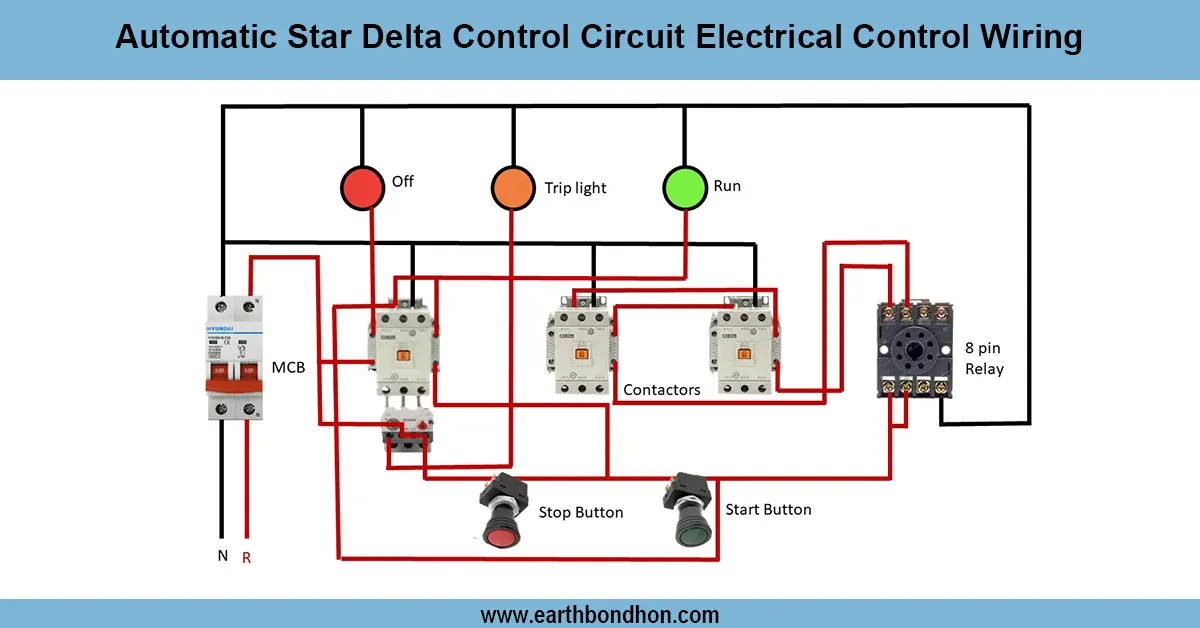
The basic and most popular form of starting a 3-phase induction motor is a DOL (Direct-On-Line) starter. It combines the motor and the power supply with a contactor and overload relay that guarantees the safety and reliability of operation. The power wiring is comprised of three incoming supply lines (L1, L2, L3) attached to the contactor input. Wires are connected to the motor terminals out of the contactor output. A series of overload relays is installed to guard against excess currents in the motor. The start push button (NO), stop push button (NC) are used in the control wiring, and the contactor coil, and the overload relay auxiliary contact are used. The start button activates the coil, and the contactor closes the circuit so that current is passed to the motor. A holding contact ensures that the motor stays running until a stop button is pressed and de-energizes the coil and the motor. DOL starters have found application in the motors of up to 5 HP to 10 HP, like pumps, compressors, fans, and conveyors, where the starting of these simple and reliable motors is in demand.
Work / Installation (Inputs → Outputs)
Input: Three-phase (L1, L2, L3) → MCB → Contactor → Overload Relay → Motor.
Steps:
- Connect the 3-phase input supply to the contactor’s input terminals.
- Connect the contactor output to the motor terminals through an overload relay.
- Wire the stop button (NC) in series with the contactor coil.
- Wire the start button (NO) in parallel with the contactor’s holding contact.
- Connect one end of the coil to L1 phase and the other end through stop & start buttons to neutral.
Output: When the start button is pressed, the coil energizes, closing the contactor and powering the motor. The stop button interrupts the circuit to stop the motor safely.
Testing & Final Adjustments
Test the input at the contactor after wiring. To ensure the motor starts and vibrates, e 'llll press the start button. Check that the holding circuit does not sustain a continuous press on the motor. Press the stop button to make sure that the motor is cut off immediately.
Test the overload relay by simulating excessive current, and the relay should automatically trip the motor. Check the proper sequence of rotation of motors. Make all terminals tight, and cable sizes should be proper for the motor rating. Safety label push buttons and motor. A properly tested DOL starter will provide better overload protection, ease of maintenance, and reliable motor operation.