
Radial Wiring Diagram
Learn radial wiring diagrams with single-phase or multi-phase circuits. Step-by-step guide for input, output, and load connections for safe home or industrial wiring.
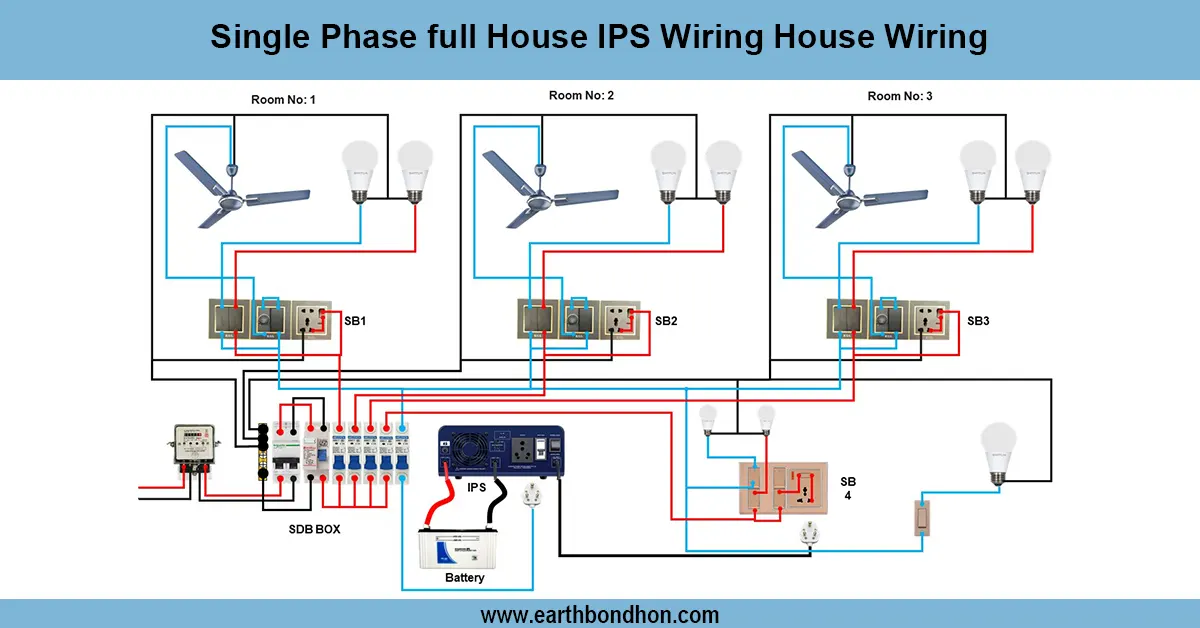
home radial wiring connection
Radial wiring is used to connect individual devices to the main supply and to permit the safe and independent operation of loads on home or industrial circuits.
single phase radial wiring
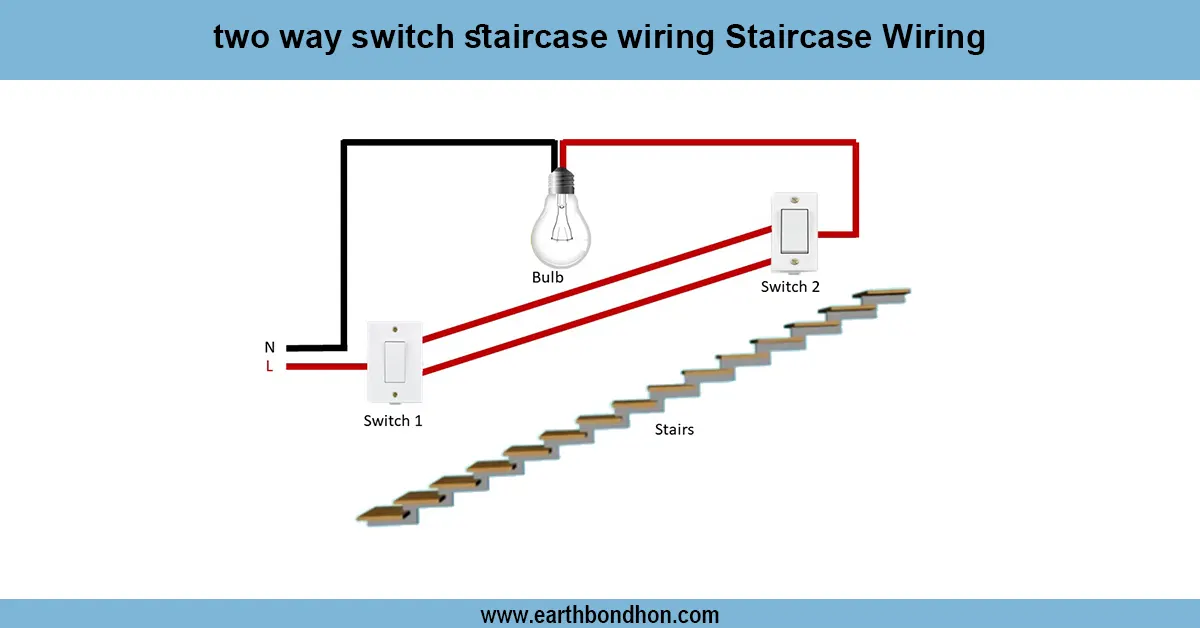
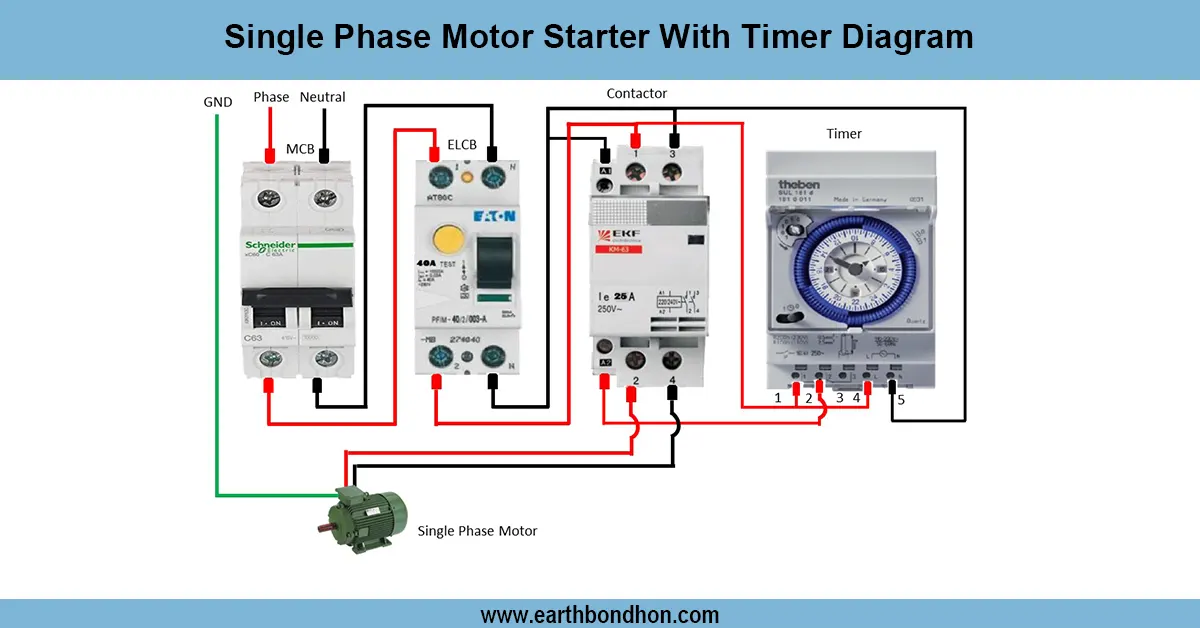
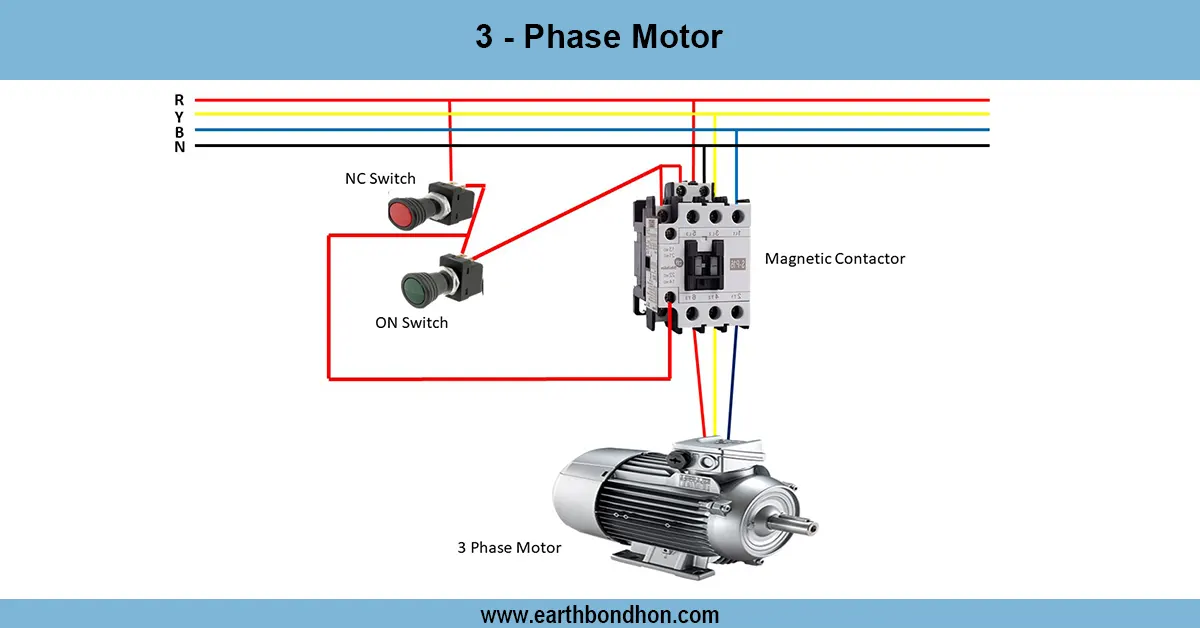
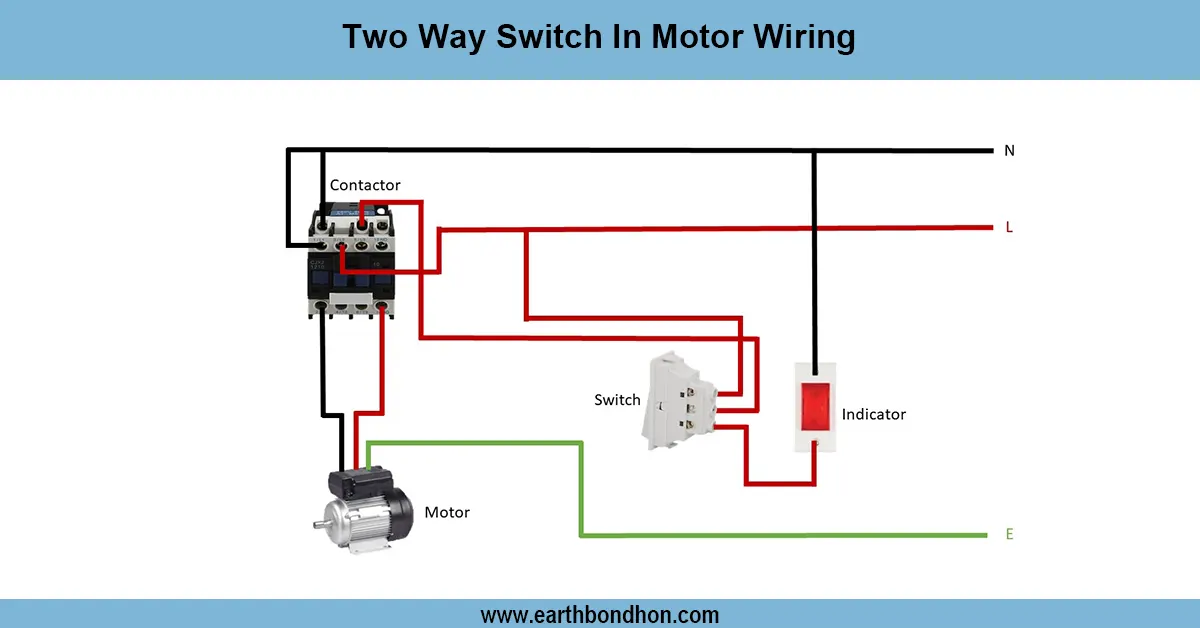
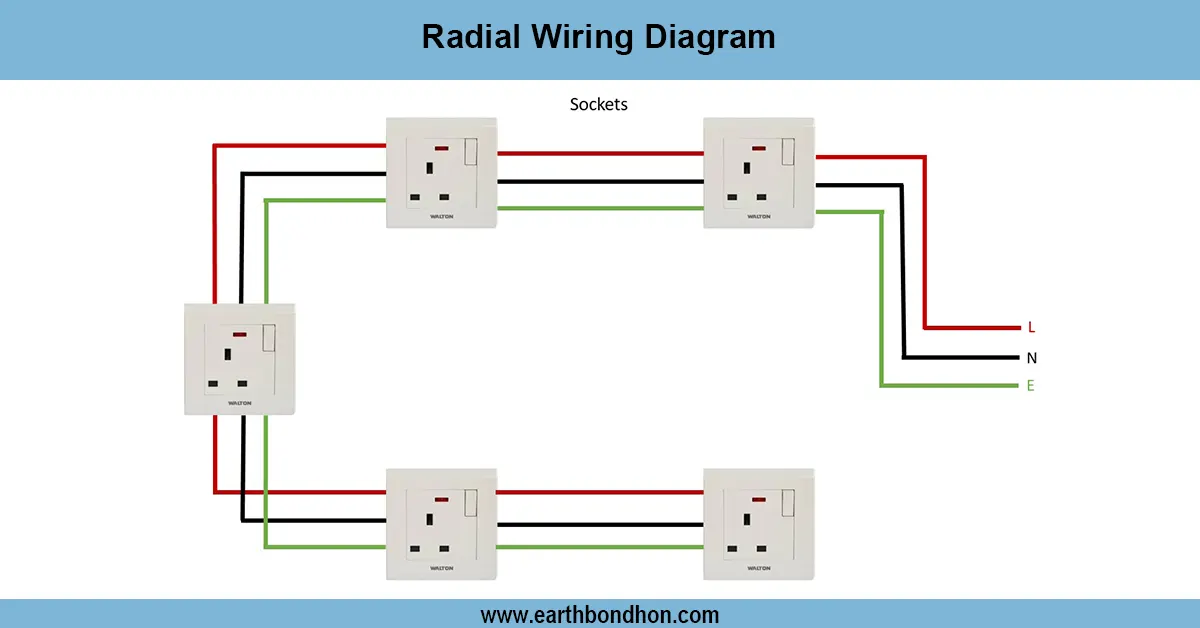
A radial wiring diagram is used to indicate the connection of electrical loads in one line to the main supply. All of the devices or sockets are linked to the distribution board separately. Radial wiring is easy, inexpensive, and common in residential homes, offices, and small industries. The phase and the neutral in this wiring are more individually carried to the loads. Each radial circuit should have overload protection, fuses, or MCBs to help avoid short-circuiting or fire. Unlike a loop wiring, a radial wiring will not interfere with other devices in case one device fails. Safe operation requires proper insulation, appropriate sizing of wires, and proper connections. Radial circuit applies to lighting circuits and socket outlet,s as well as minor connections that involve a motor.
Work / Installation (Inputs → Outputs)
- Switch OFF the main supply before starting.
- Mount the distribution board and ensure proper MCBs or fuses are installed for each radial circuit.
- Run phase (L) and neutral (N) wires from the distribution board to each load individually.
- Connect lights, sockets, or motors to the end of the radial wire, ensuring correct polarity.
- Add earthing for each load for safety.
- Label each radial circuit for easy identification.
- Secure wires with cable clips or conduits to prevent mechanical damage.
👉 Radial wiring is easy to troubleshoot since each load has a separate feed.
Testing & Final Adjustments
Installation: Once the installation is done, switch ON the main supply. Check the phase and neutral connections on each radial circuit, one at a time, with a multimeter or voltage tester. Test that MCBs or fuses will perform correctly when faulty. Make sure that all lights, sockets, and appliances are independent of each other. Check wires to see that they terminate securely and are insulated. Measure the voltage at every load to check the proper supply. In case of circuit failure, examine the radial wire and connections one by one. Radial wiring makes maintenance easier since faults in one load would not affect other circuits. Check periodically for overheating or wear of connections, particularly high-current ones. Labeling and correct circuit identification assist with troubleshooting or modifications later.