Ceiling Fan Wiring Diagram
Learn how to wire a ceiling fan with a switch and regulator. Easy-to-follow diagram, explanation, and common FAQs for safe and efficient ceiling fan installation.
single phase ceiling fan wiring
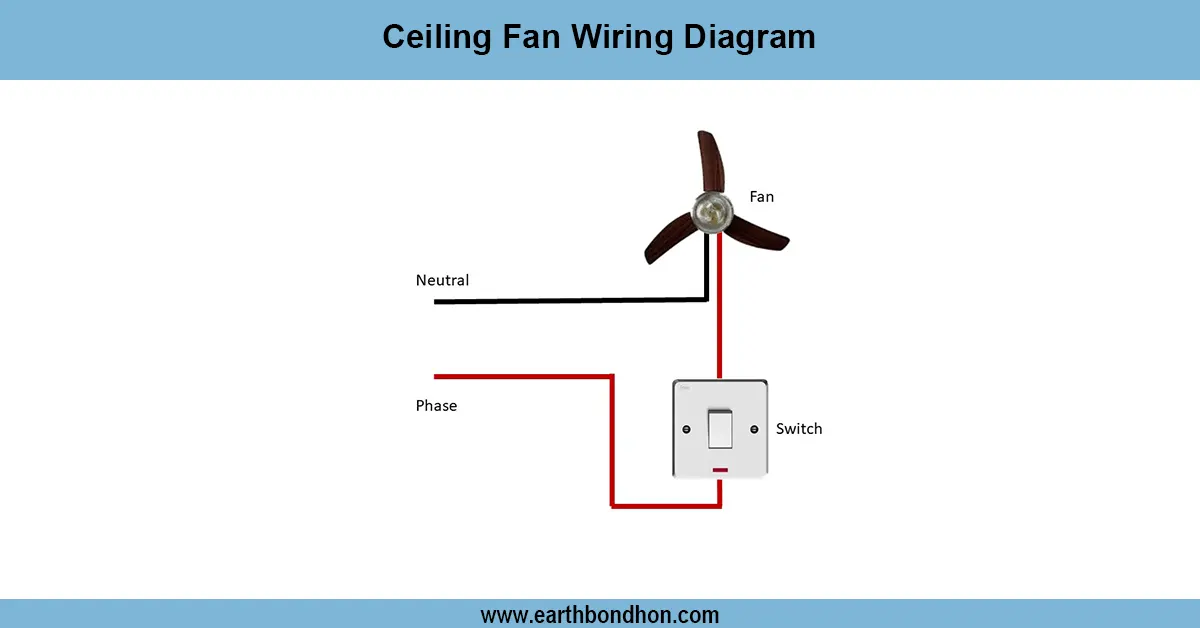
Interested in a safe way of wiring a ceiling fan? Ceiling fan wiring diagram The diagram shows how a fan motor, switch, regulator, and power source connect together. This wiring step-by-step guide helps simplify the wiring so that you can be familiar with the live, the neutral, and the ground and how the capacitor and speed control of the fan collaborate. Whether being new to wiring and completing the project as a beginner or an electrician, this wiring guide will facilitate his intentions, as well as ensure safety in the application.
Formula & Table Summary:
- Live Line (L) → Switch → Regulator → Capacitor → Fan
- Neutral (N) → Direct to Fan
- Earth (E) → Fan body (optional for safety)
Regulator adjusts resistance, controlling voltage drop and speed.
fan switch connection diagram
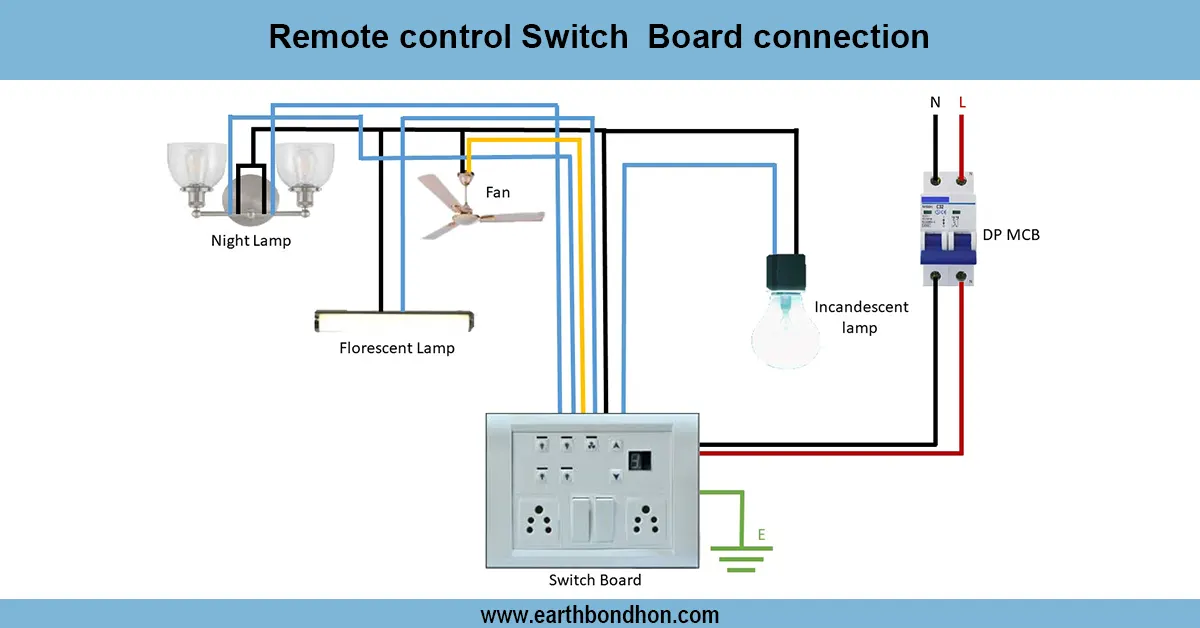
A ceiling fan wiring diagram enables you to know the electrical connections required in order to have a safely operating fan. A fan normally consists of a working conductor, a neutral, and the earth conductor. In the case of speed control, the regulator is connected in series with the live wire. The capacitor in the fan is a necessity with regard to the successful starting and startuptorque. Of course, connections may differ, depending on how you are wired up, e.g., a regulator in one switch or a speed controller and switch. Knowing these diagrams is important in the context of electricians, homeowners, and those into the work of DIY. An analysis of the layout would help you to understand the correct way to connect every part, so as to reduce the chances of short circuits or heating. Conventional wiring codes should always be adhered to, and power should be switched off during installation.
ceiling fan wiring diagram
| Component | Wire Color | Connection Point | Function |
|---|---|---|---|
| Live (L) | Red | From Power to Switch | Power Input |
| Switch to Regulator | Red | Output of Switch | Speed Control Start |
| Regulator Output | Yellow | To Capacitor/Fan Terminal | Voltage Control |
| Neutral (N) | Black | From Power to Fan | Return Path |
| Capacitor | White | Between Fan Windings | Starting & Running Torque |
| Earth (E) | Green | Fan Body (if present) | Safety Ground |