ARDUINO UNO is Associate in Nursing ATMEGA controller primarily based board designed for electronic engineers and hobbyists. Arduino primarily based program development surroundings is a straightforward thanks to writing the program in comparison to alternative surroundings development programs.
Circuit Schematics
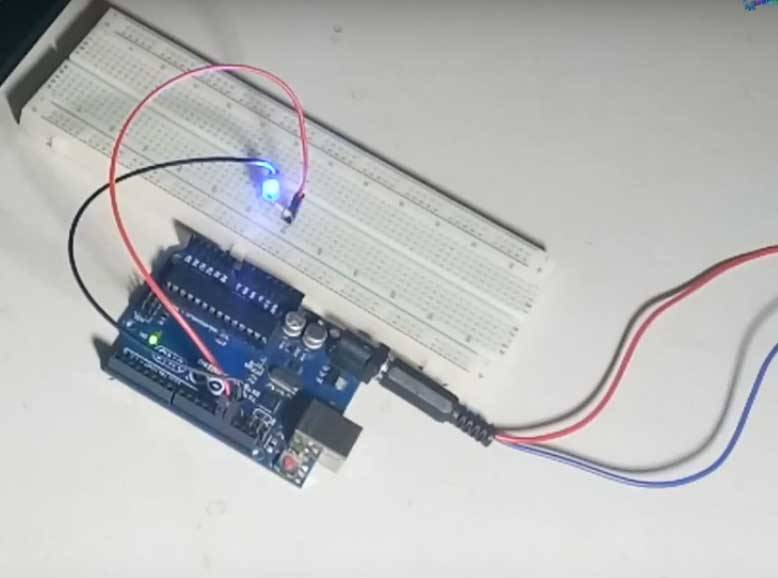
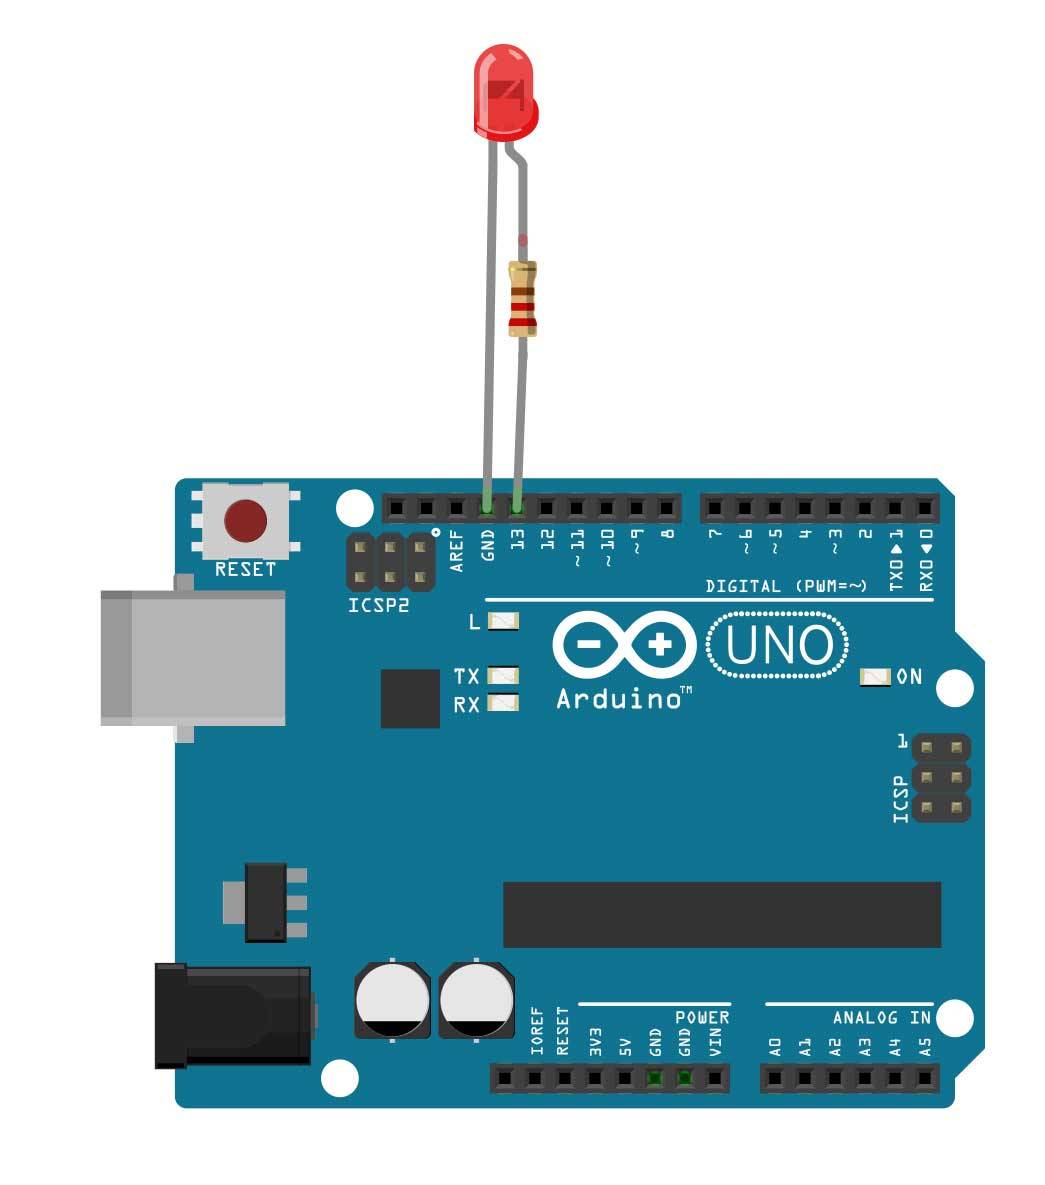
First, connect pin thirteen on your Arduino to a spot on your board, then your electrical device. On the opposite facet of the electrical device, insert your crystal rectifier.
NOTE: LEDs are polarised, which means that they need an explicit approach they have to be connected if you’re to not blow them. Connect the positive lead of the crystal rectifier to the electrical device and run a wire from the bottom cause the GND pin on the Arduino. The result ought to appear as if the schematic on this tutorial.
Components needed for this Project
- Arduino Uno : [ See Buy Click Banggood | Amazon ]
- 12 LED [ See Buy Click Banggood | Amazon ]
- 230 ohms and 470 ohms [ See Buy Click Banggood | Amazon ]
*Please note: These are affiliate links. I may make a commission if you buy the components through these links. I would appreciate your support in this way!